Now that we have a working predictive model, we can deploy it to a simple application to test how well the eye tracker works.
The plan is three-fold:
- Create a Predictor class that can load a trained model and make predictions
- Add a “tracking” mode to the data collector as a quick way to test the Predictor
- Create a simple screen recorder that can save videos of eye tracking while playing video games
Predictor class
We want to create a predictor class that can handle all of the model loading and predicting. PyTorch models can be saved either as checkpoint files or weight files, and we need a way to load both. We also want to do model inference using the GPU for extra speed. If playing video games, an argument could be made for keeping inference on the CPU because the GPU will be under heavy use by the game, but in my testing having both the game and model on the GPU leads the best performance on my system.
We can do all of this in the __init__ of our class:
class Predictor:
    def __init__(self, model, model_data, config_file=None, gpu=1):
        super().__init__()

        _, ext = os.path.splitext(model_data)
        if ext == ".ckpt":
            self.model = model.load_from_checkpoint(model_data)
        else:
            with open(config_file) as json_file:
                config = json.load(json_file)
            self.model = model(config)
            self.model.load_state_dict(torch.load(model_data))

        self.gpu = gpu
        self.model.double()
        self.model.cuda(self.gpu)
        self.model.eval()
Next, we the class needs a method that receives a set of images and returns an X-Y prediction. We need to remember to put the input tensors on the GPU for inference, and then back to the CPU again to retrieve the predicted value:
def predict(self, *img_list, head_angle=None):
    images = []
    for img in img_list:
        if not img.dtype == np.uint8:
            img = img.astype(np.uint8)
        img = transforms.ToTensor()(img).unsqueeze(0)
        img = img.double()
        img = img.cuda(self.gpu)
        images.append(img)

    if head_angle is not None:
        angle = torch.tensor(head_angle).double().flatten().cuda(self.gpu)
        images.append(angle)

    with torch.no_grad():
        coords = self.model(*images)
        coords = coords.cpu().numpy()[0]

    return coords[0], coords[1]
The full predictor class can be found here.
Testing the eye tracker
We can now use the predictor in our mini data collection application as a quick test.
Create an instance of the predictor and specify where the model weights are stored:
predictor = Predictor(
    FullModel,
    model_data="trained_models/eyetracking_model.pt",
    config_file="trained_models/eyetracking_config.json",
)
In the main loop, we can grab features from the webcam, run them through predictor.predict(), and draw a target on the screen at that location:
# In main loop
l_eye, r_eye, face, face_align, head_pos, angle = detector.get_frame()
x_hat, y_hat = predictor.predict(face, l_eye, r_eye, head_pos, head_angle=angle)

target.x = x_hat
target.y = y_hat
target.render(screen)
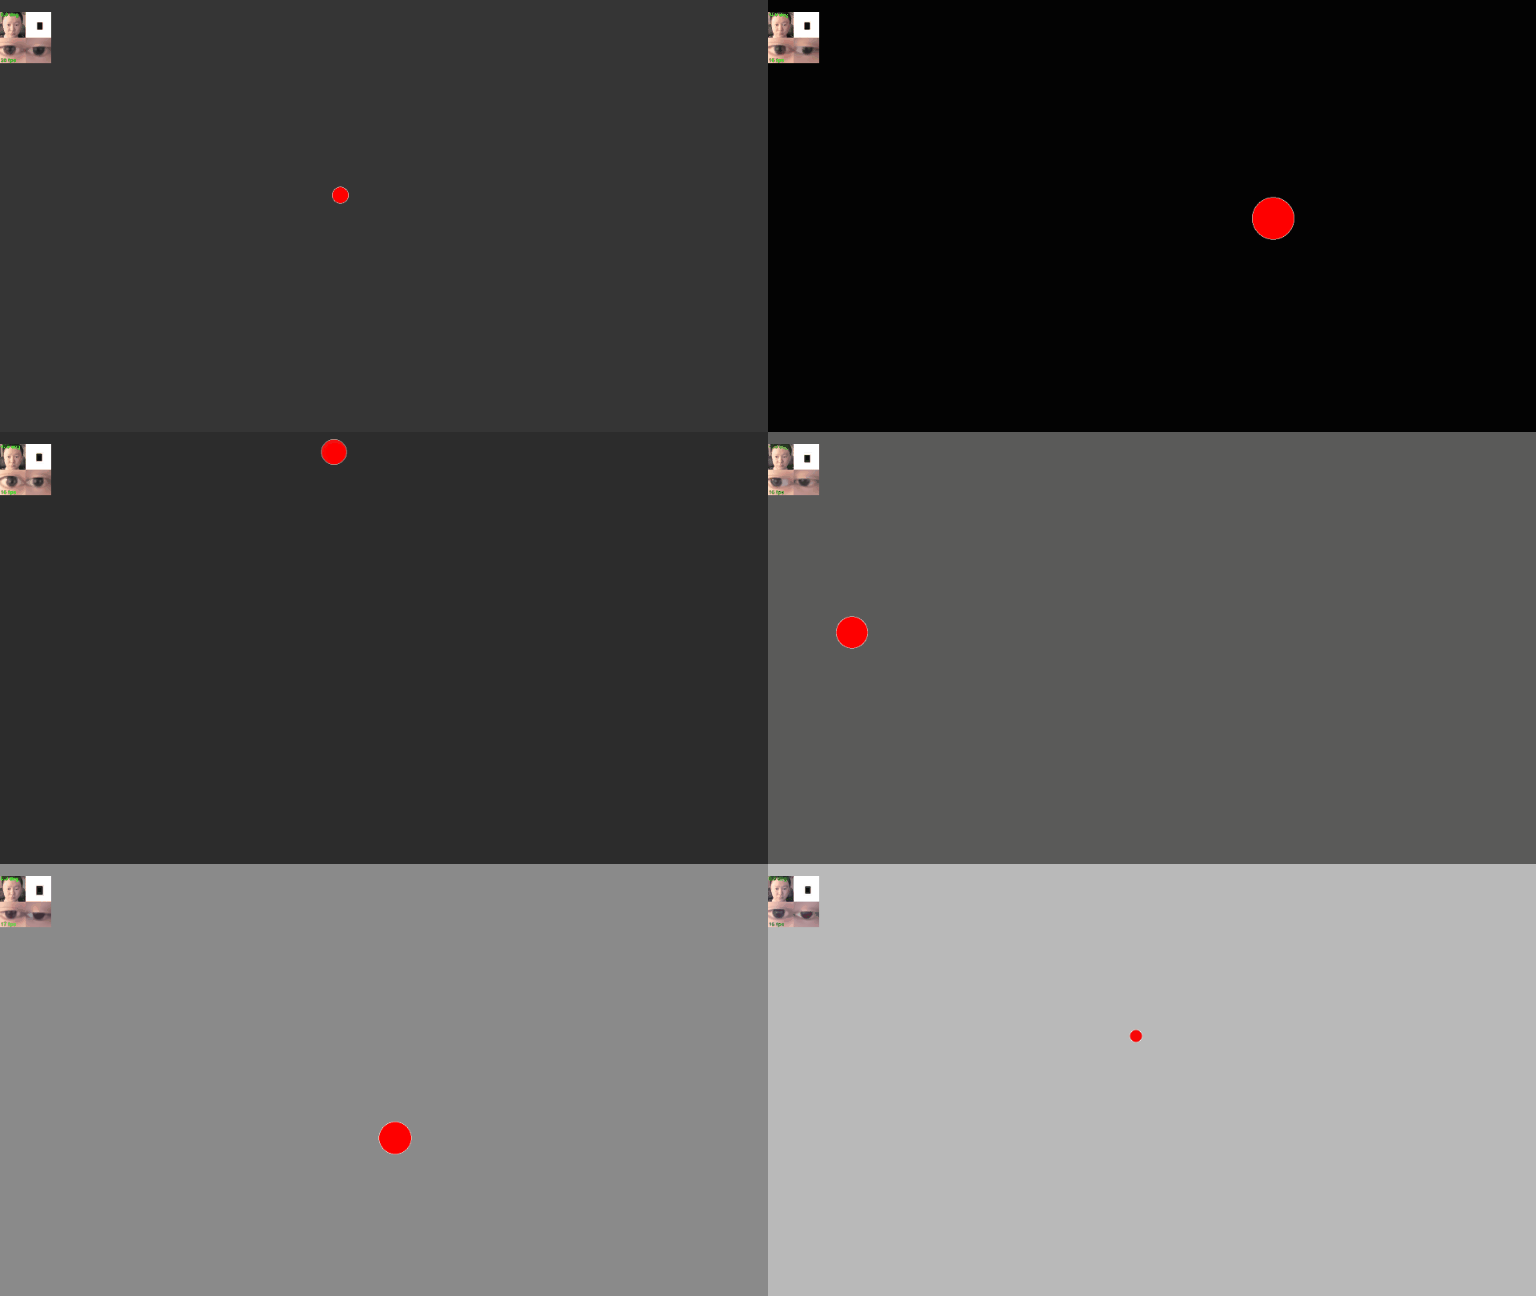
The predictions can be quite jumpy, so we want a way to smooth out the movement of the predicted target. We can use a moving window average over the last few frames to smooth things out. In order to reduce perceived lag, we need to apply a weight to that average so that the most recent predictions are weighted more highly.
We can use a deque with a max length for this, and have weight values that increase over the length of that deque. We could use a list instead, but this just saves having to remove the oldest item whenever a new one is added:
track_x = deque([0] * SETTINGS["avg_window_length"], maxlen=SETTINGS["avg_window_length"])
track_y = deque([0] * SETTINGS["avg_window_length"], maxlen=SETTINGS["avg_window_length"])

# In main loop
x_hat, y_hat = predictor.predict(face, l_eye, r_eye, head_pos, head_angle=angle)
track_x.append(x_hat)
track_y.append(y_hat)

weights = np.arange(1, SETTINGS["avg_window_length"] + 1)
target.x = np.average(track_x, weights=weights)
target.y = np.average(track_y, weights=weights)
target.render(screen)
Displaying prediction errors
We might want a way to visually indicate what the error of the current prediction is. In the previous post we calculated the prediction error at every screen coordinate, and we can use that array here to adjust the radius of the target. We would want to smooth out the errors in the same way as the XY coordinate:
# utils.py
def clamp_value(x, max_value):
    if x < 0: return 0
    if x > max_value: return max_value
    return x

# collect_data.py
screen_errors = np.load("trained_models/eyetracking_errors.npy")
track_error = deque([0] * (SETTINGS["avg_window_length"] * 2), maxlen=SETTINGS["avg_window_length"] * 2)

## In main loop
x_hat, y_hat = predictor.predict(face, l_eye, r_eye, head_pos, head_angle=angle)

...

x_hat_clamp = clamp_value(x_hat, w)
y_hat_clamp = clamp_value(y_hat, h)
error = screen_errors[int(x_hat_clamp) - 1][int(y_hat_clamp) - 1]
track_error.append(error)

weights_error = np.arange(1, (SETTINGS["avg_window_length"] * 2) + 1)
target.radius = np.average(track_error, weights=weights_error)
target.render(screen)
Here is what the eye tracker looks like in the data collection application. Works surprisingly well:

Playing video games
Finally, we can take all of the logic we just implemented and wrap a simple screen recorder around it so we can perform eye tracking while playing games.
We can use the mss library to grab screenshots, OpenCV to draw the tracked eye location and save the output video. You can find the full eye tracker/screen recorder here.
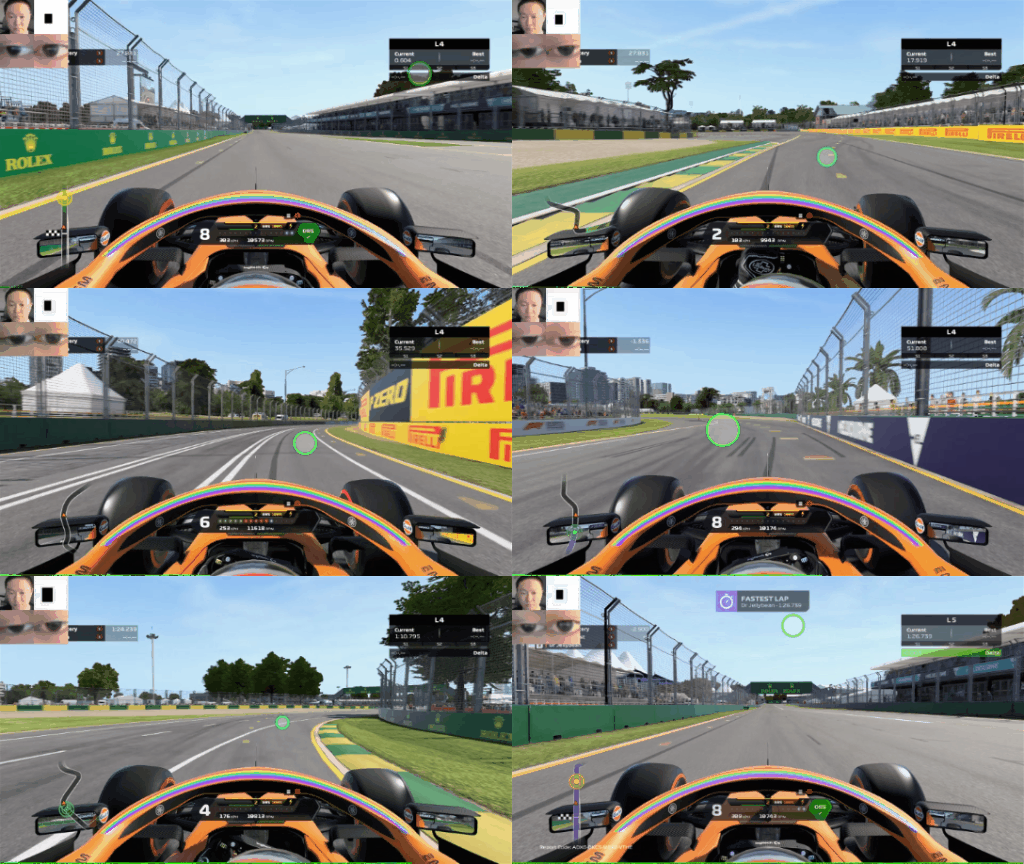
Now, we can fire up a few games, turn on the screen recorder and track our eyes. Here is the eye tracker during an F1 2020 lap around Melbourne (yes, I’m a slow driver):

How about some mobile gaming? Here’s some Rise of Kingdoms:

Webcam eye tracker project summary
The eye tracker works pretty well across different games. Although there are certainly a number of optimizations that could be made.
Currently, we’re only achieving around 15 frames per second in games. This sounds slow, but bear in mind that my webcam has a framerate limit of 30fps. A lot of the frame rate reduction is due to running a GPU heavy game at the same time, as we get about 25fps in the simple data collection application. A lot of inference is run on a single GPU: face detection, landmark detection, coordinate prediction, and this is in addition to running an video game at the same time. So GPU resources are being taxed quite hard when eye tracking a video game.
There are certainly a number of things we can change to gain some performance, like remove the calculation of unnecessary features in the detector. In terms of the model itself, we could try quantization, or test out some other models that use fewer input features. Or even just capture smaller images from the webcam.
Future directions
If we want to move this closer to an actual usable product, I think there are a few caveats and new ideas that are noteworthy:
- Eye tracking environments are extremely dynamic. Lighting conditions change all the time, the number of people in the frame may change constantly etc. These are factors that need to be considered in the implementation, and during the data collection stage.
- My plan for the “calibration” mode was to capture information about dynamic environments. You would enter calibration prior to eye tracking, and those 9 images would be entered into the prediction model to inform something about the current environment you are in. This could be used in conjunction with transfer learning to keep the system more flexible.
- If the eye tracker application was implemented with some UI, you could also use mouse clicks as online training data. It is (maybe) a safe assumption that users gaze at UI elements they are clicking. So, you could capture screen coordinates and images from the webcam at that point, and use that data to update model weights after deployment.
- Eye movements are fast, but very sequential in nature. Is there some recurrent/temporal convolution technique that could help make tracking more accurate? Maybe.
- Originally I wanted to implement the eye tracker using C# as a way to get better at that language, but I stayed with Python due to time constraints. We might be able to gain some performance by using a compiled language.
Overall, I think we can call the webcam eye tracker project a success. The accuracy we achieved after about 2 weeks of work was not bad, especially considering most of that time was spent reading PyTorch documentation and waiting for models to train. So, mission accomplished!